This 1911 started out as one thing and turned into several things.
I’ve been collecting parts for a couple years now to build a gun for a very good friend who’s not really deeply into 1911’s, but wants one and, really, needs one. These parts were something of a hodge-podge…. some new parts that were essentially stuff I don’t use any more, some take-offs…. mostly Colt. You could say I approached this like Ygor when the good doctor sent him to the boneyard for body parts—Frankenstein wanted him to get some good, fresh stuff, and the brain of a professor. Ygor went where the grave digging was easiest and came back with the brain of a criminal, and good thing or we might have never heard the story. Well, I went to the paupers’ cemetery for some of these parts.
Some things needed a “little” work. Trying to keep it mostly Colt, the slide was a Gold Cup slide that someone had bushed the firing pin hole on. They did a great job of it actually—when I punched out the bushing I found that they had got the press fit just right. Problem was, they had made the bushing too short and when they pressed it in, it went in too deep, leaving the bushing about 1/32 below flush.
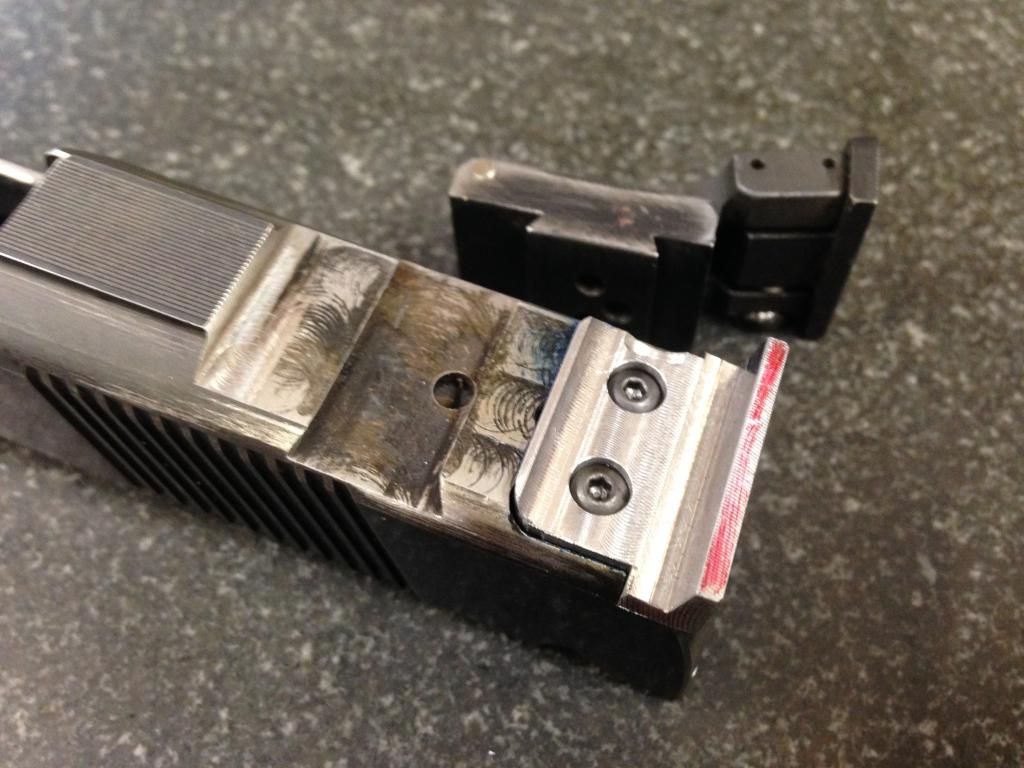
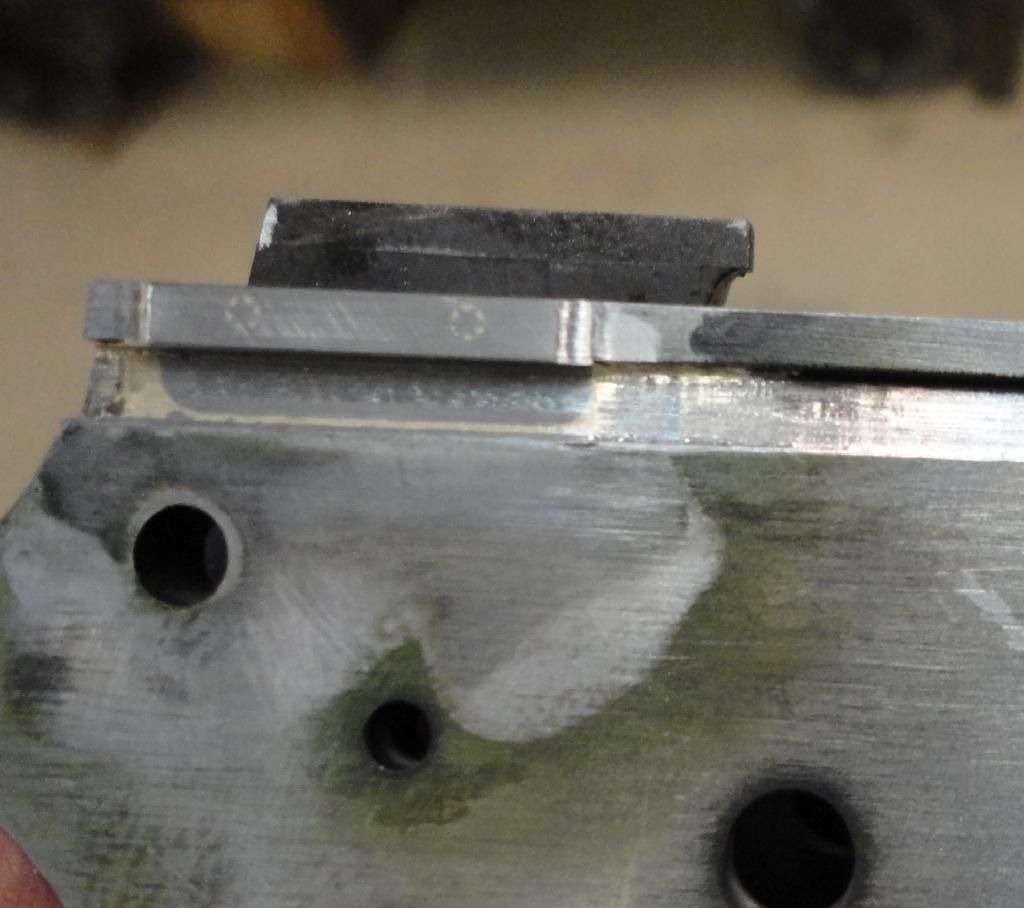
The blued slide also had a poorly done cut for a Witchita rear sight. I used to like those way back and had one left over from those days, but either the sight cut was as dimensionally bad as it was rough, or there was a different model of Witchita I never saw. Keeping with the theme of doing this a little at a time, after hours, and keeping it something that I would spend little or nothing on out of pocket, I decided to use the cut and the sight I had and make a piece to take up some unsightly gaps. The idea in these situations is to make it look like you “did it that way on purpose” and that the result is a new and superior way of doing things, with bonus features!
The hammer is off a Springfield, chosen mostly because it was chromed. Trigger, sear, and disconnector are Colt take-offs as are the stainless mainspring housing, mainspring housing internals, firing pin and extractor, hammer strut and pin, and magazine catch. The stainless grip safety, I used a new one that had no package, I think it’s a Wilson.
The frame…… well, you know, it’s all in how you sell it. Kurt’s not into these things enough to know the difference so I
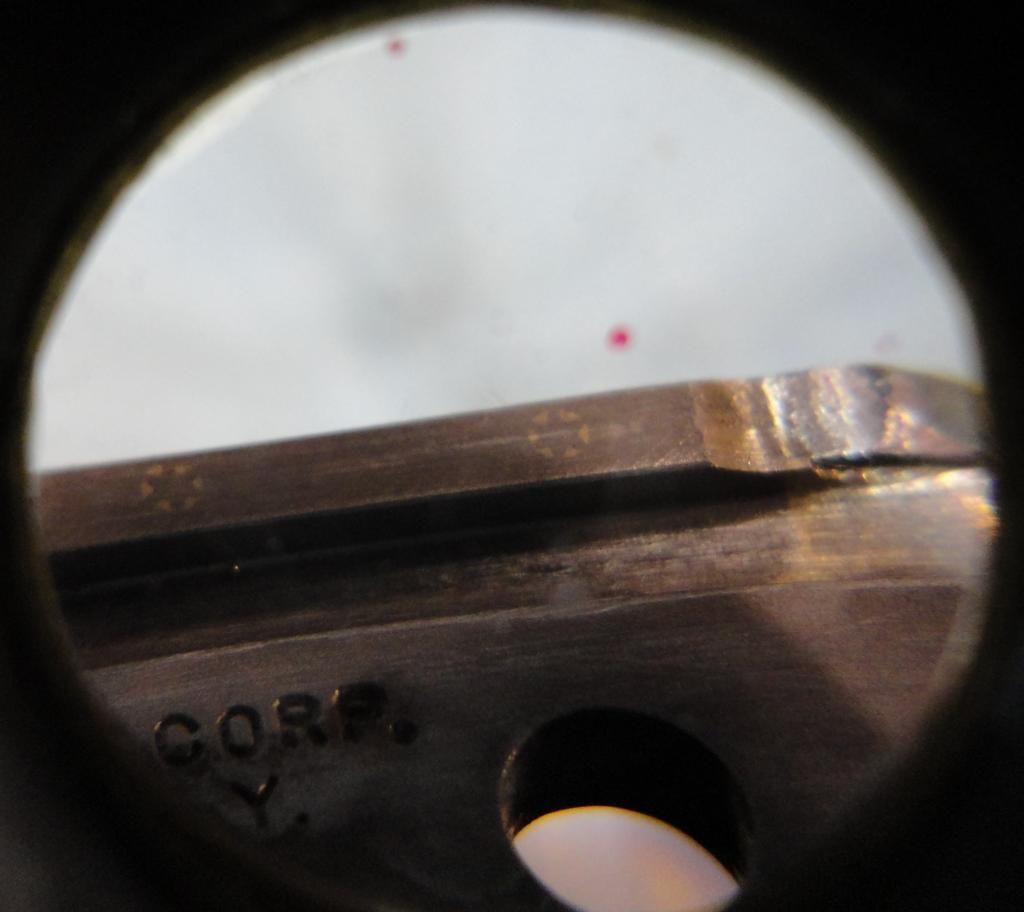
could tell him, this gun is a Colt but the frame—oh, the frame! It’s made by the company that was built around making the Thompson submachinegun! Awesome! Colt made them….. Savage made them, and that little piece under the rear sight? Made from a piece of a Savage barrel…. Kurt, this pistol practically IS a Tommy gun.
So yeah, the frame is an Auto-Ordinance. It came to me as a freebie, having been ruined by the unexplainable: somebody drilled out the step in the mag catch hole so there was nothing really position the catch.
The chromed frame also had rails that were, how you say, out of spec BIG time. You didn’t need a micrometer to see the rails were severely tapered to way undersized in front, a tape measure would do but really it was obvious with the naked eye, more than 1/64”.
So, used parts, damaged parts, rejected and repaired parts. Hey, when it comes to building a gun for a guy who’s been a great friend for a great many years, only the, um, second best will do!
Some pics:
The mag release issue. The piece of Colt M16 barrel is what got turned into a ring that would be set into a counterbore in the frame and silver-brazed in for the fix:
The ring in place:
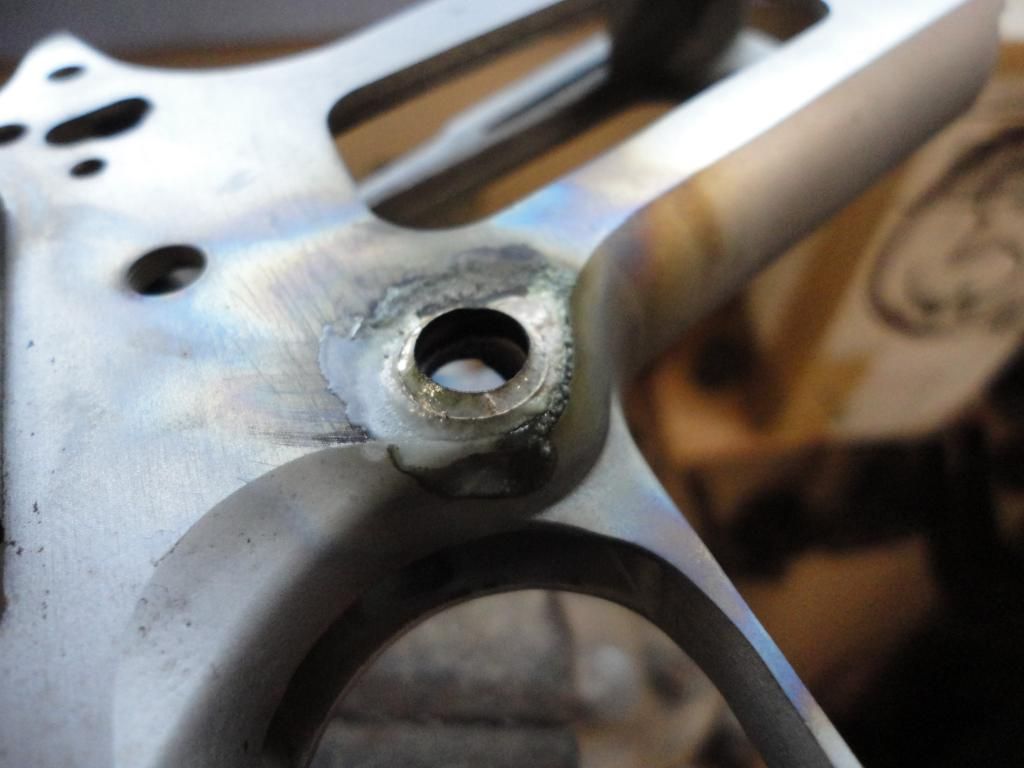
And, all done:
The original firing pin bushing removed, and the Allen screw from which the new one would be made:

New bushing in place and shaved off, not yet stoned perfectly flush, new FP hole yet to be drilled. I drill the new hole from the front centered to the newly fitted barrel, in this case a Colt take-off with probably 3000 rounds through it. As the GC slide has a narrow hood, there was some fitting needed.
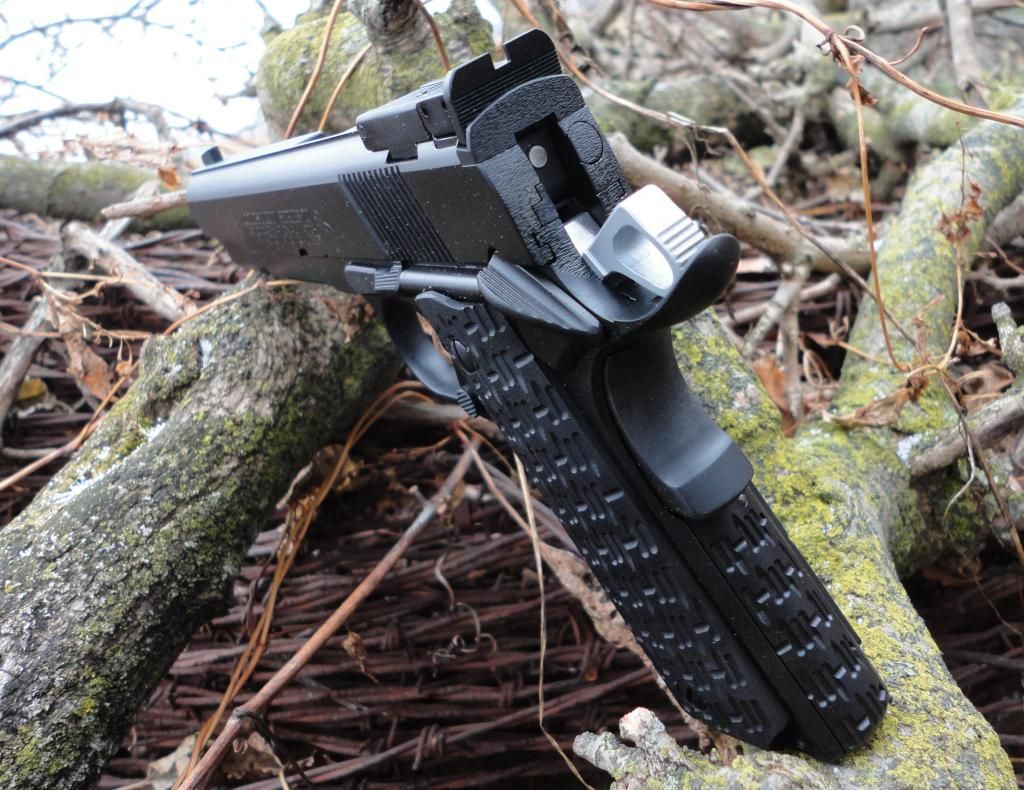
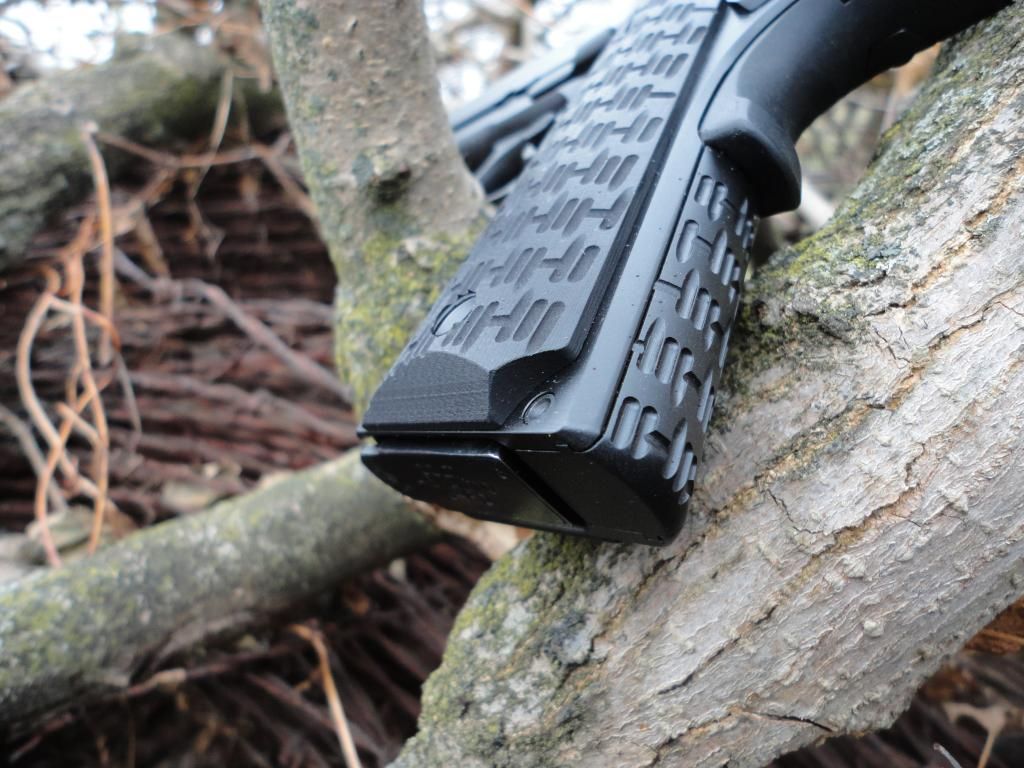
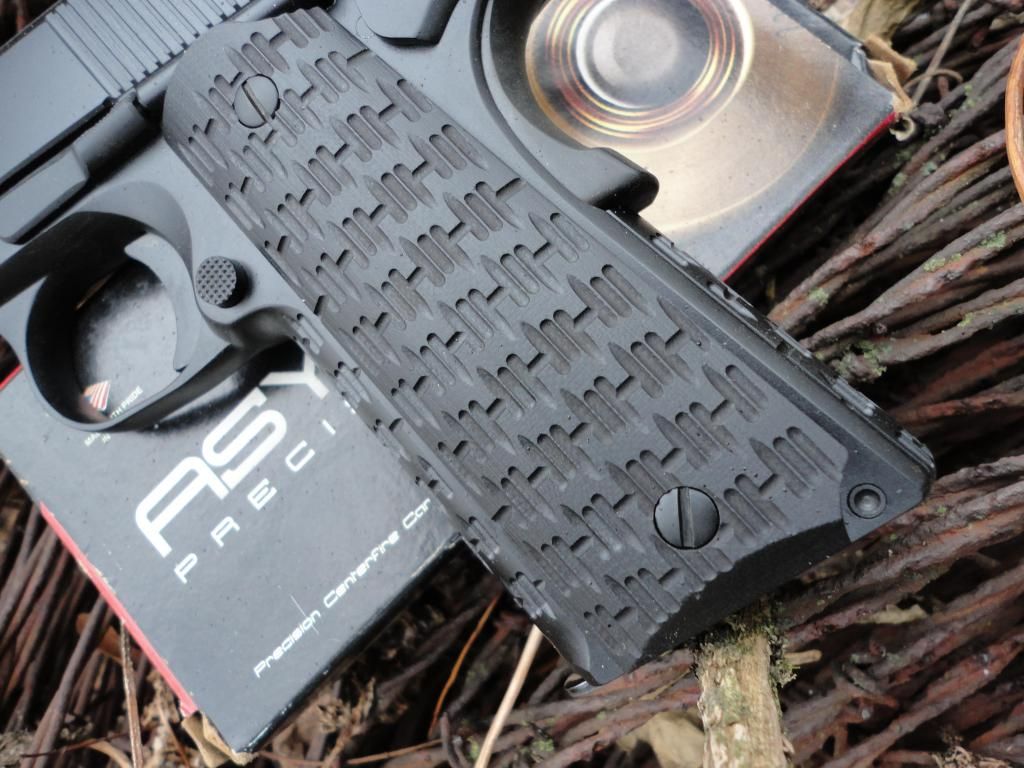
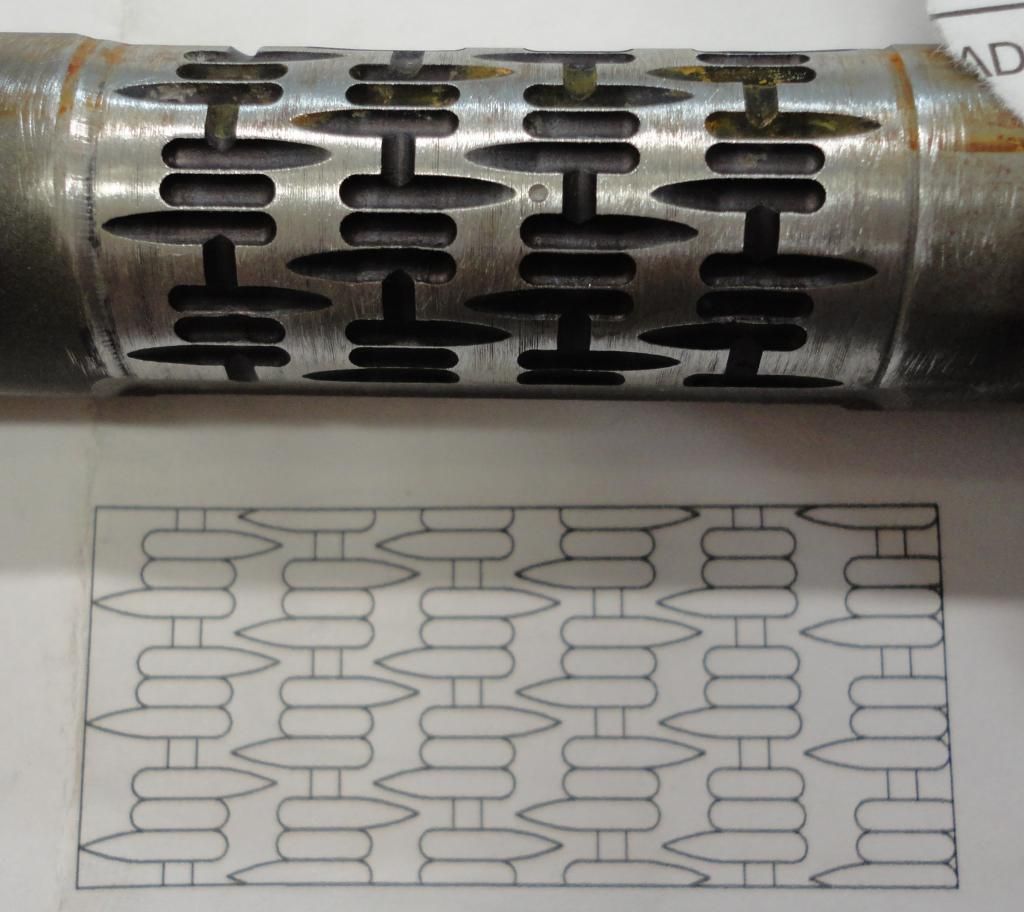
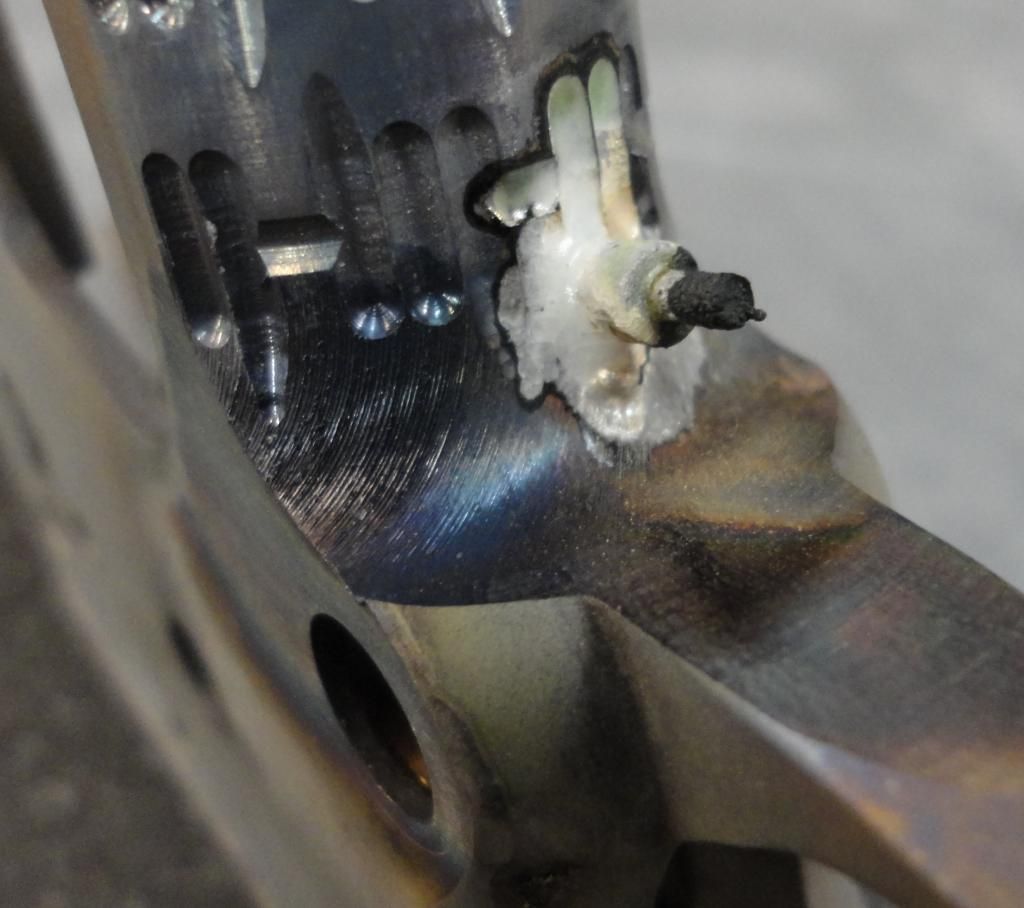
I came up with a new pattern for the frontstrap—more on this soon, but if you like it, there’s gonna be good news. On the very last cut I made a booboo. This is the fix—drill a hole, silver braze a 1/8” piece of steel in, grind it flush on the inside, remachine all on the outside:
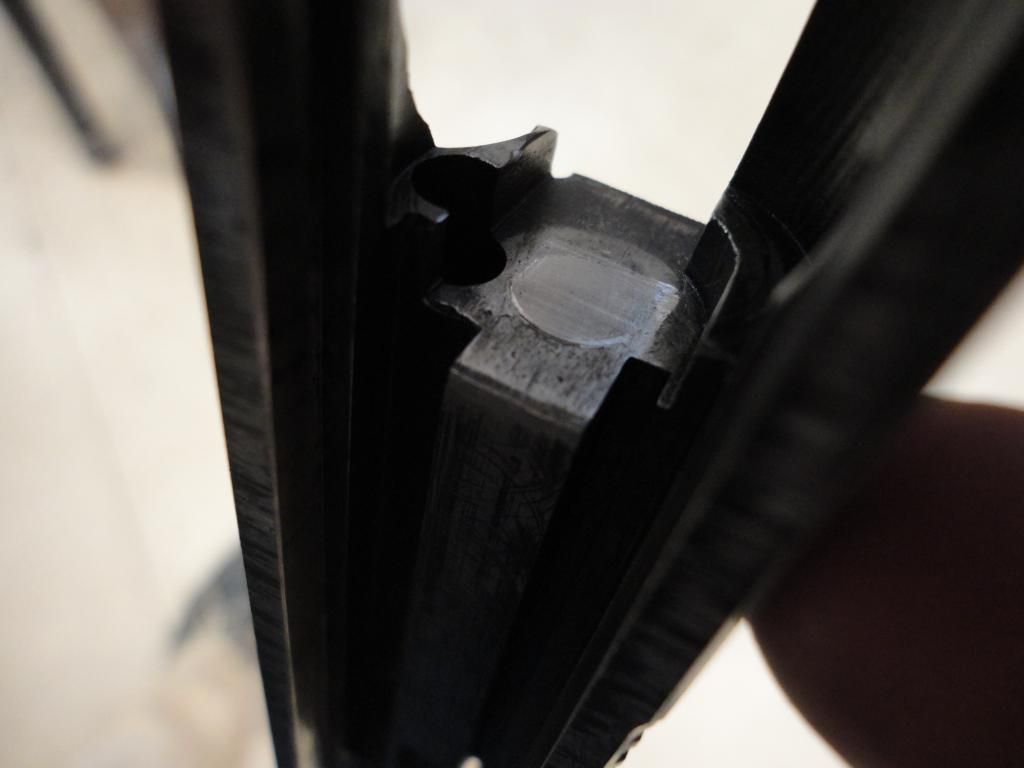
The frame rail fix. I’ve been doing this by TIG welding over the years and more recently by laser welding. I have an awesome source for this, but, I wanted to experiment here a little. I thought Chuck Rogers’ idea of silver-brazing inserts in place was a good one and Chuck is an absolute master with silver and a torch. A silver joint can be incredibly solid—a couple examples for you: on older tubular-magazine shotguns, the tubes were made by rolling a flat piece of steel into a tube and then silver-brazing the joint. On your Ithaca or Remington and many other shotguns, the piece on the underside of the barrel that holds the end of the mag tube in place, is silver brazed on.
Just the same, I wanted to take this to another level, and the question posed was, can I do this in such a way that the inserts are held in mechanically, in support of the silver joint? In other words, if the silver magically disappeared, could the inserts be made so they wouldn’t just fall out? I don’t think I quite achieved that, but by making it waaaayy more work than I would ever do again, in the name of experimentation, I made the cuts for the inserts so they were actually T-slots, and made the inserts with ears to go into them. This way they were mechanically locked from coming out to the side. Then I found some appropriately sized drive screws that would be a press fit, and anyway silvered in place, that would keep them from coming up out of the slots. Then I silvered everything in place:
[
Fluxed and ready:
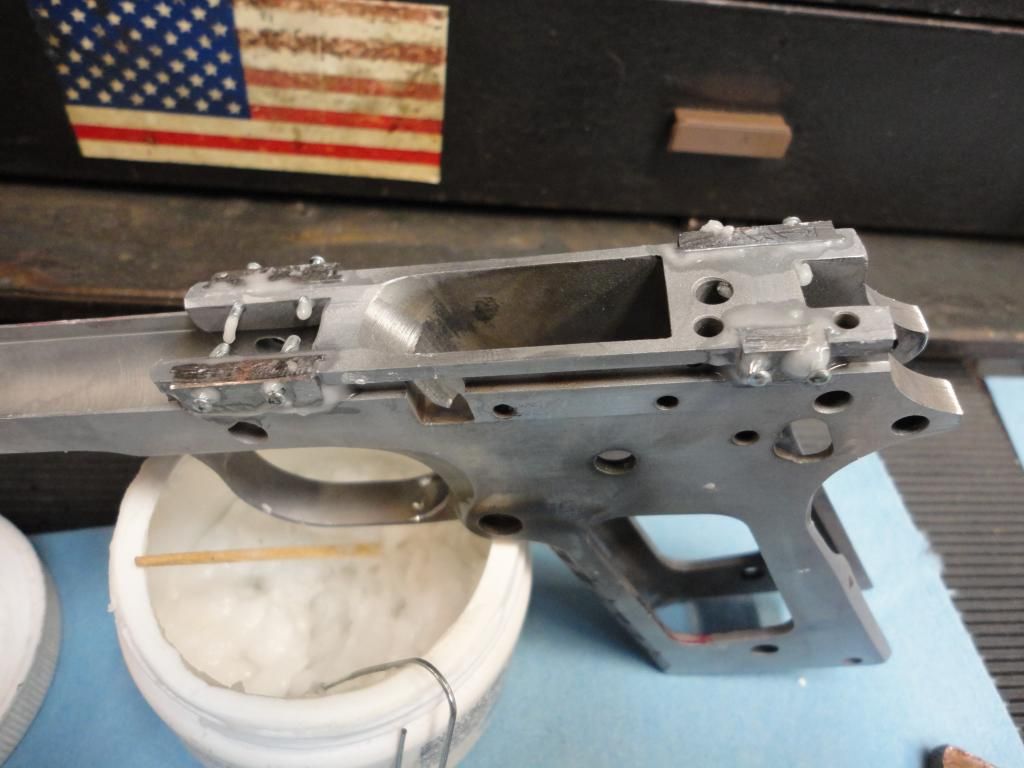
And, done:
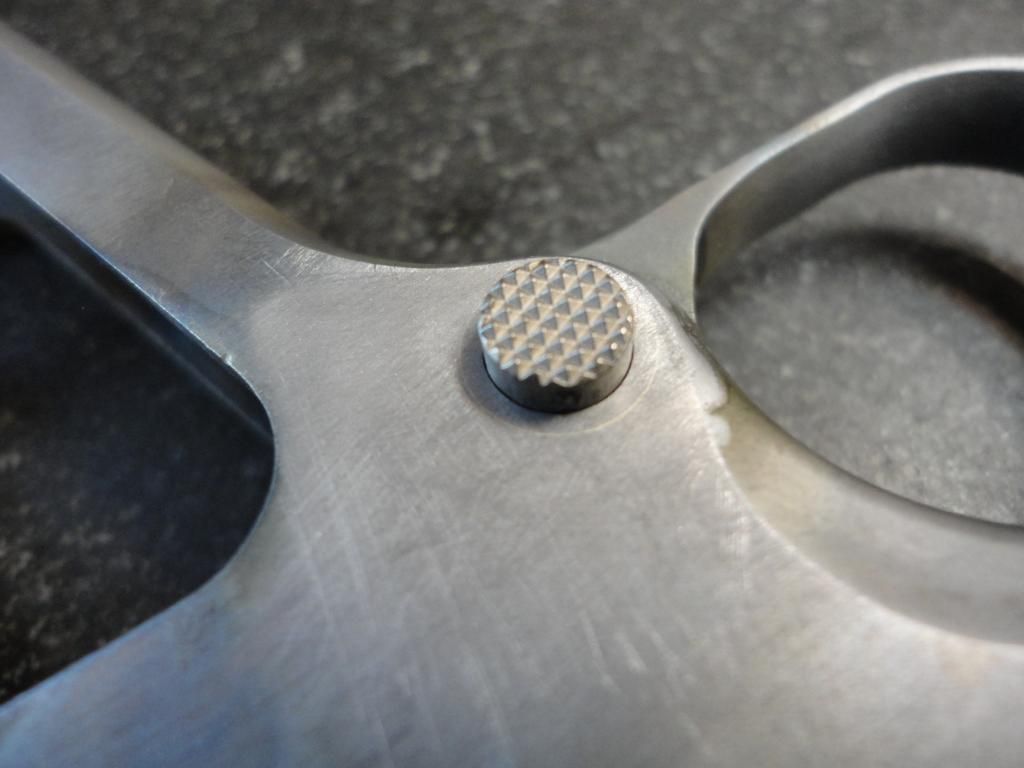
The drive screws have a slow spriral pressed into them. I thought it was kinda cute how after silver brazing, the spiral flutes, filled now with silver, looked like this once trimmed off.
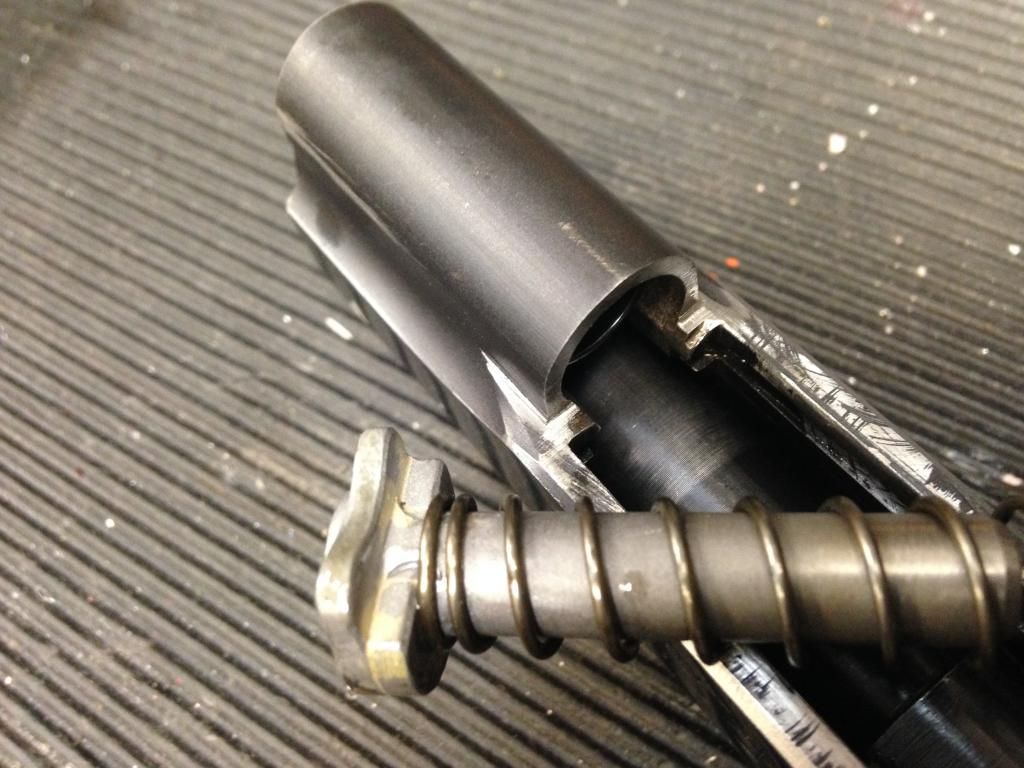
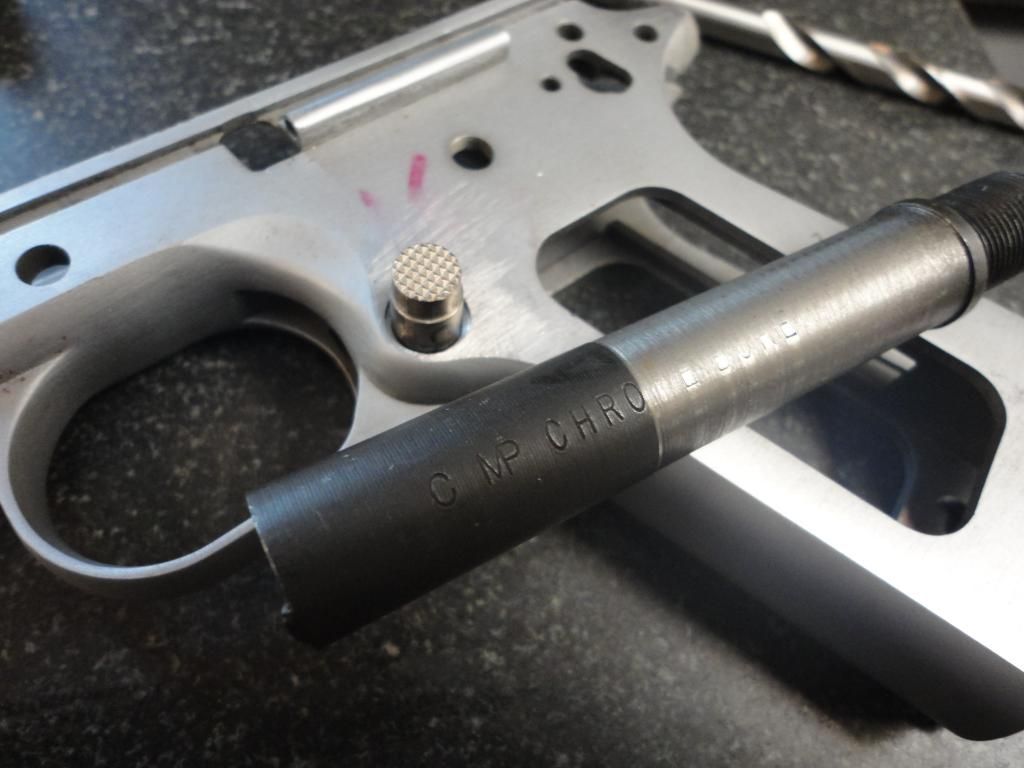
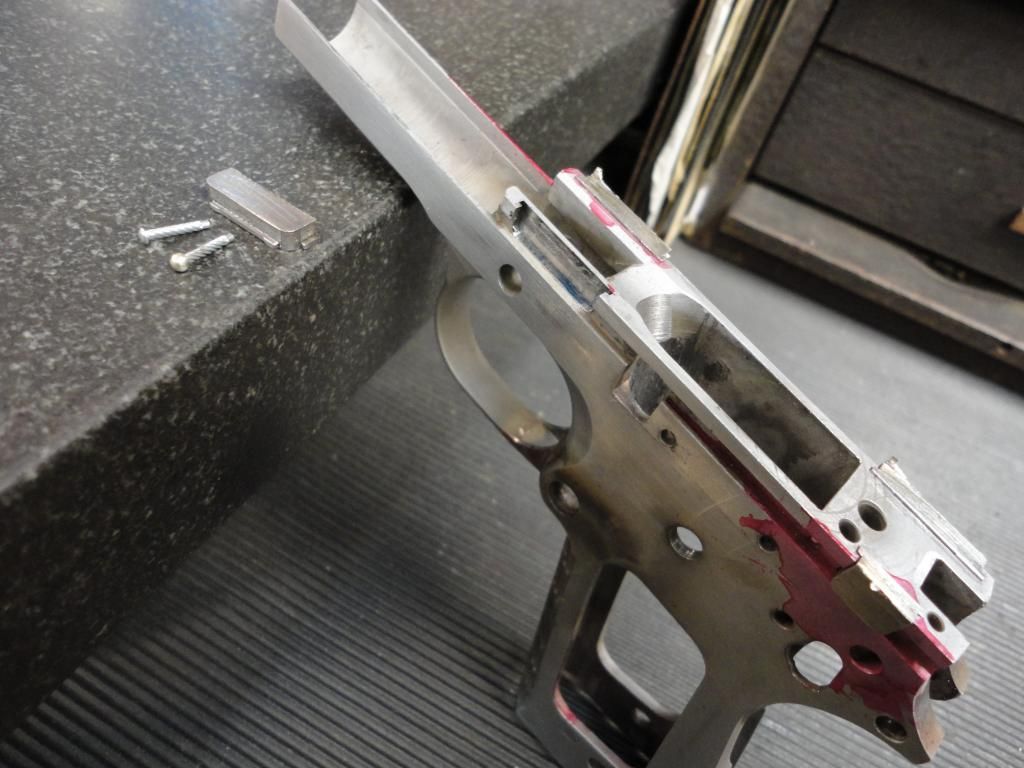
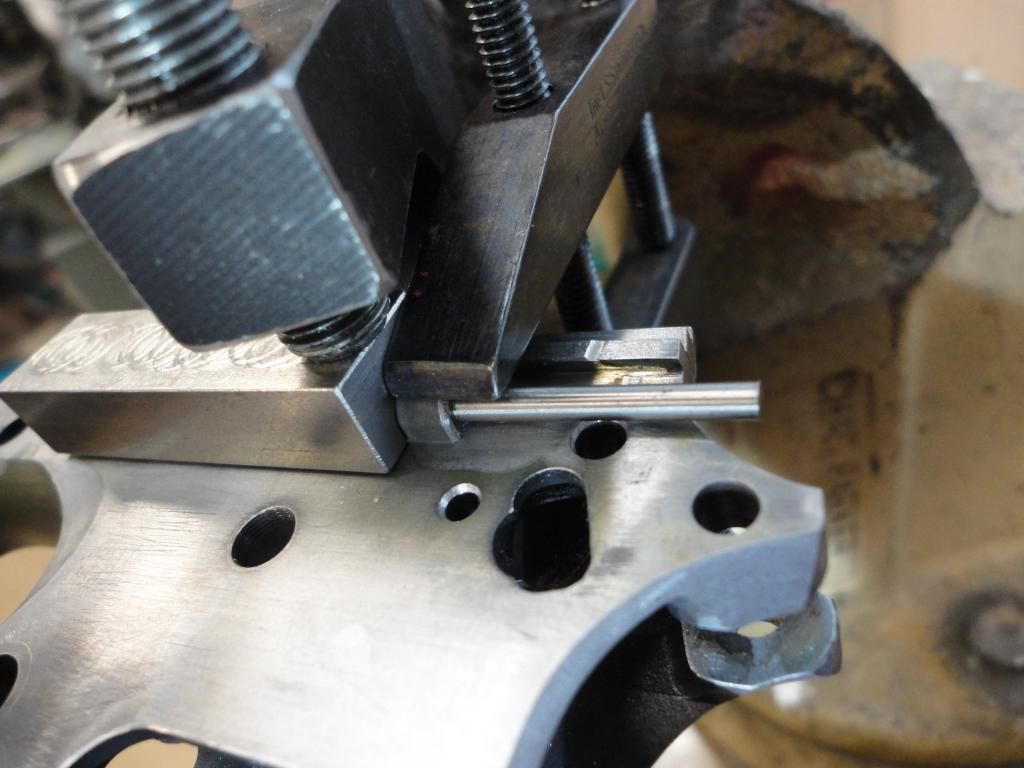
Well I did use at least one new, guaranteed part—my own Extra Stout Plunger Tube. Here it is going on, notice that while staking it using the Gunrunner tool I am holding it down with a toolmaker’s clamp. This helps get a no-gap installation. The various tools used for staking make it seem like you’re clamping the PT in place but if you’re not actually clamping it to the frame independently, there might be a problem.
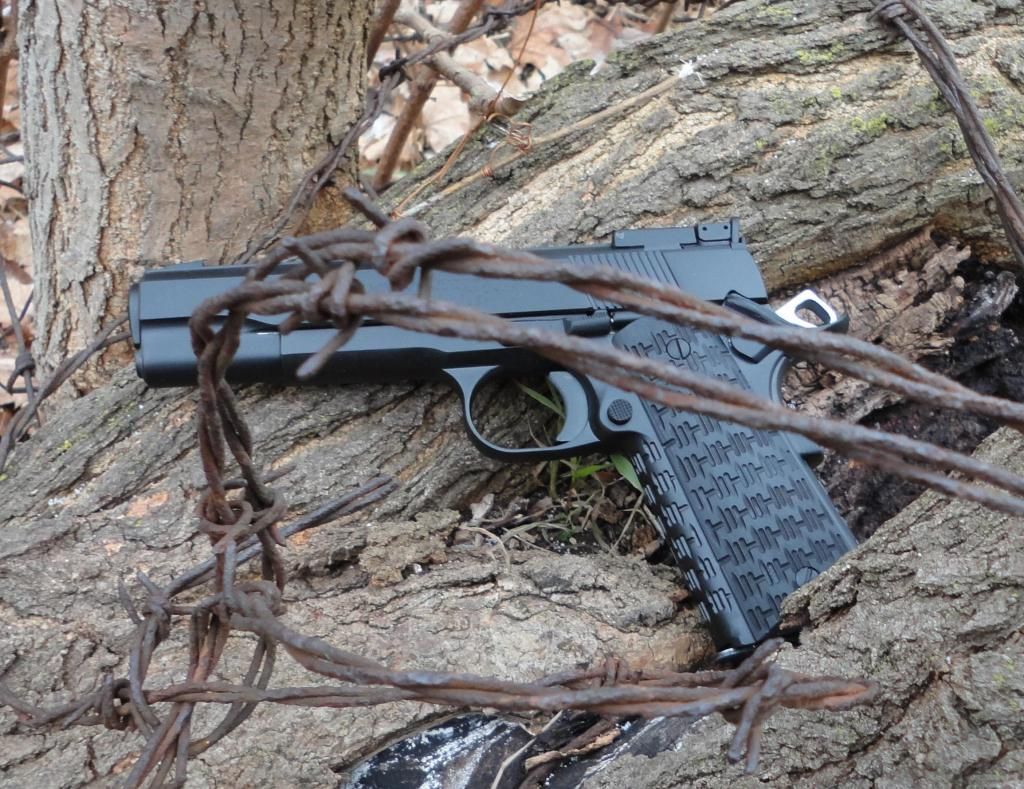
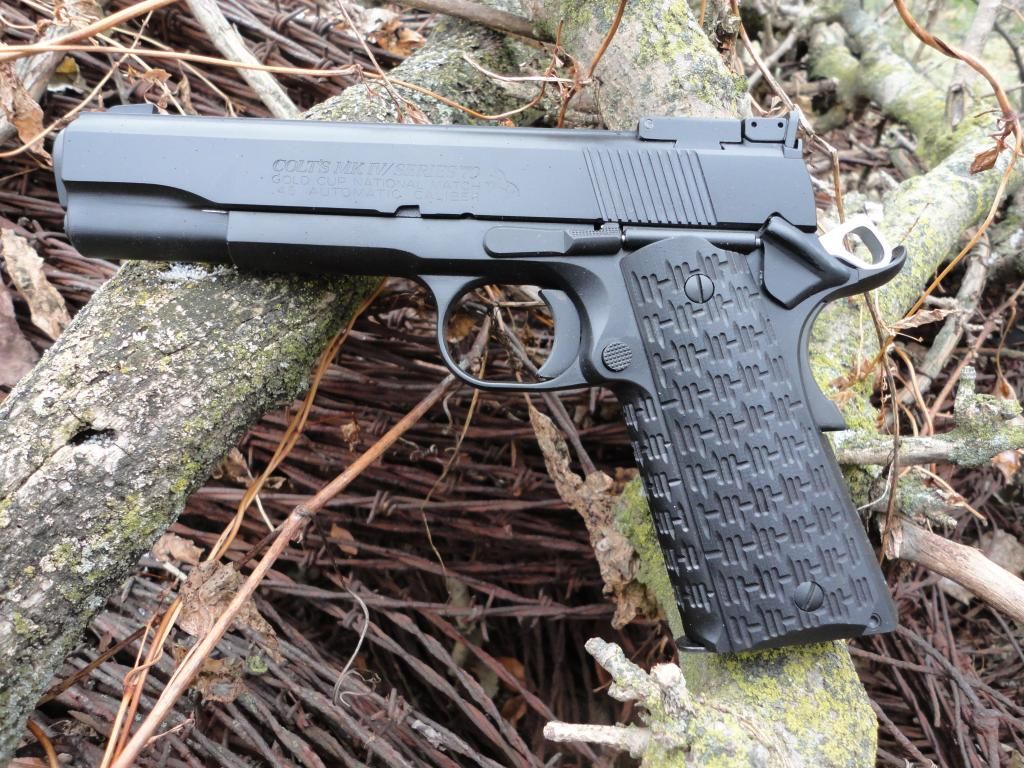
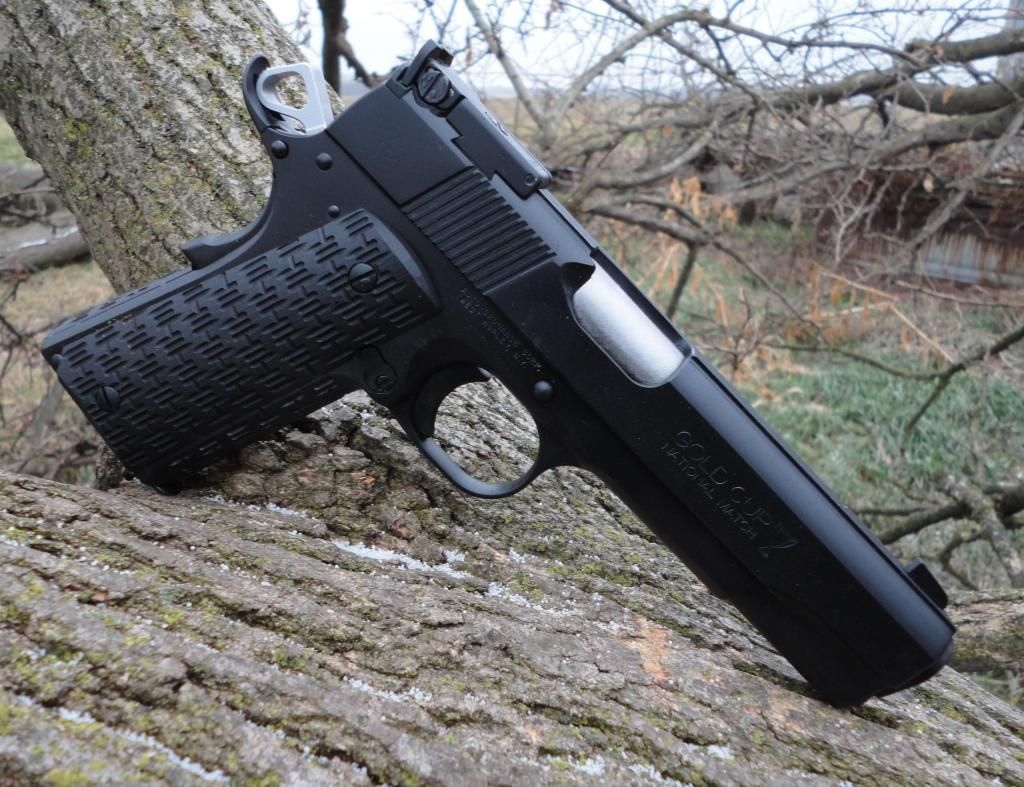
The gun is now finished, it works very well, and this take-off Colt barrel just happens to be the best-grouping Colt factory barrel I have experienced. I finished it in Brownells Baking Laquer, which has been marvelous stuff that I always apply over fresh Parkerizing-- but not this time. I cleaned everything very thoroughly and blasted much but not all of it-- and I don't expect the finish to stick nearly as well. The areas of the frame that are still chromed, while blasted, will probably not hold it so well, nor the sides of the slide that had the nice polished Colt bluing.... but I'll just tell Kurt that it's a special finish called ACD, for Accelerated Character Development, it looks like a real pistolero's gun much sooner than some!
More pics to come.